The Clip tab
The Clip tab turns one source video into one or more outputs. Each output is a combination of an optional crop (a rectangle in space) and an optional trim (a range in time) — so a clip can be a crop, a trim, or both.
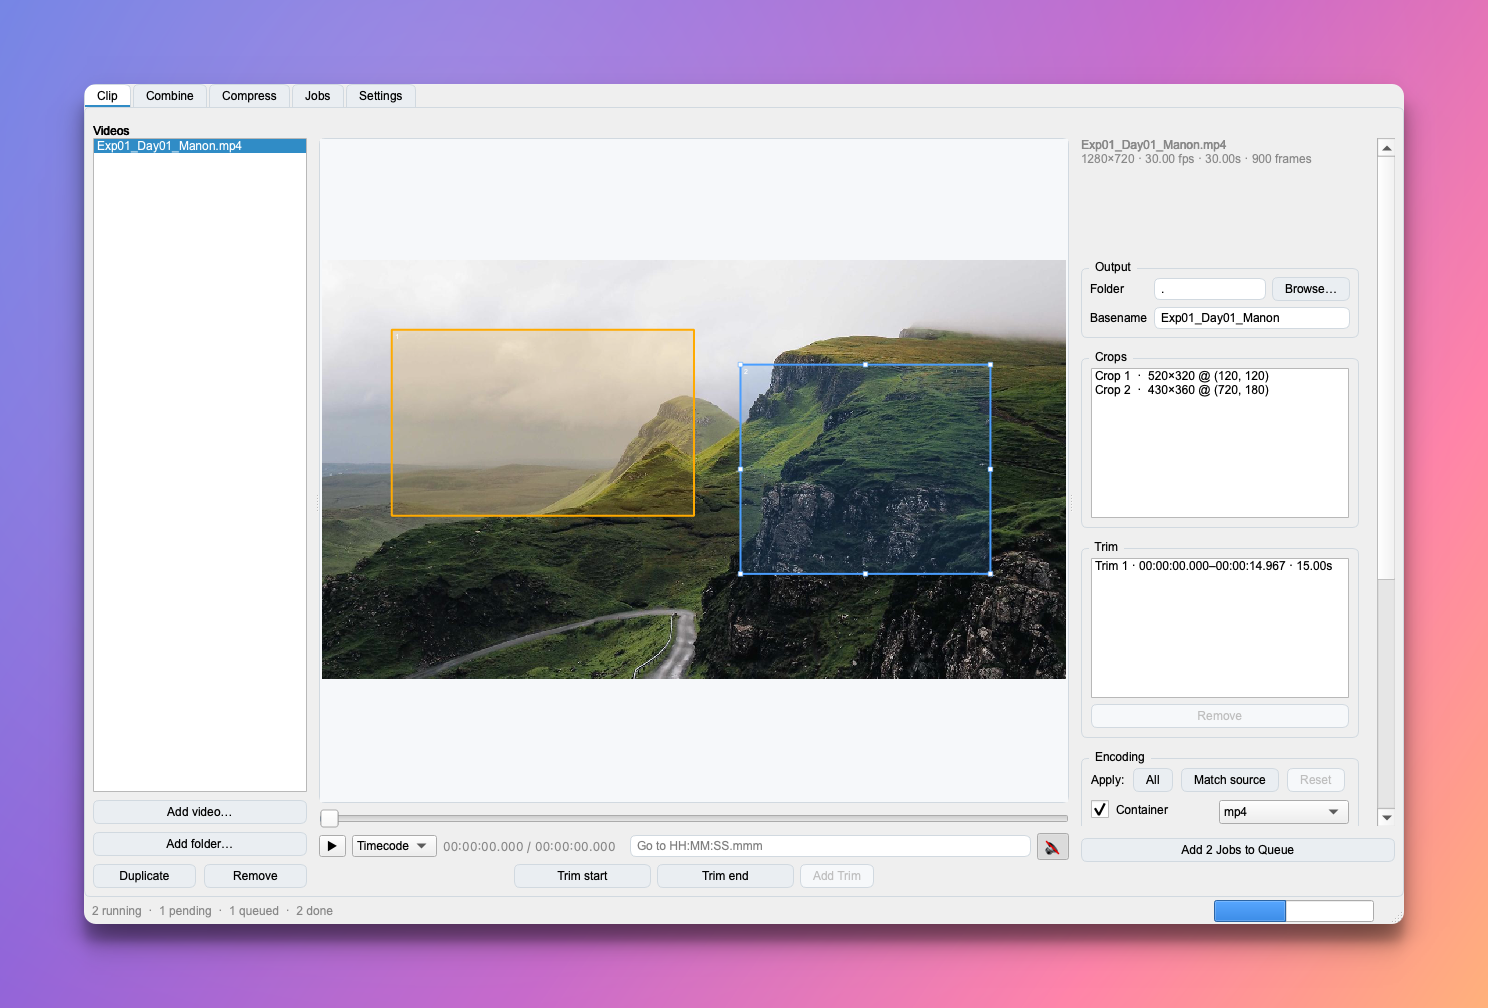
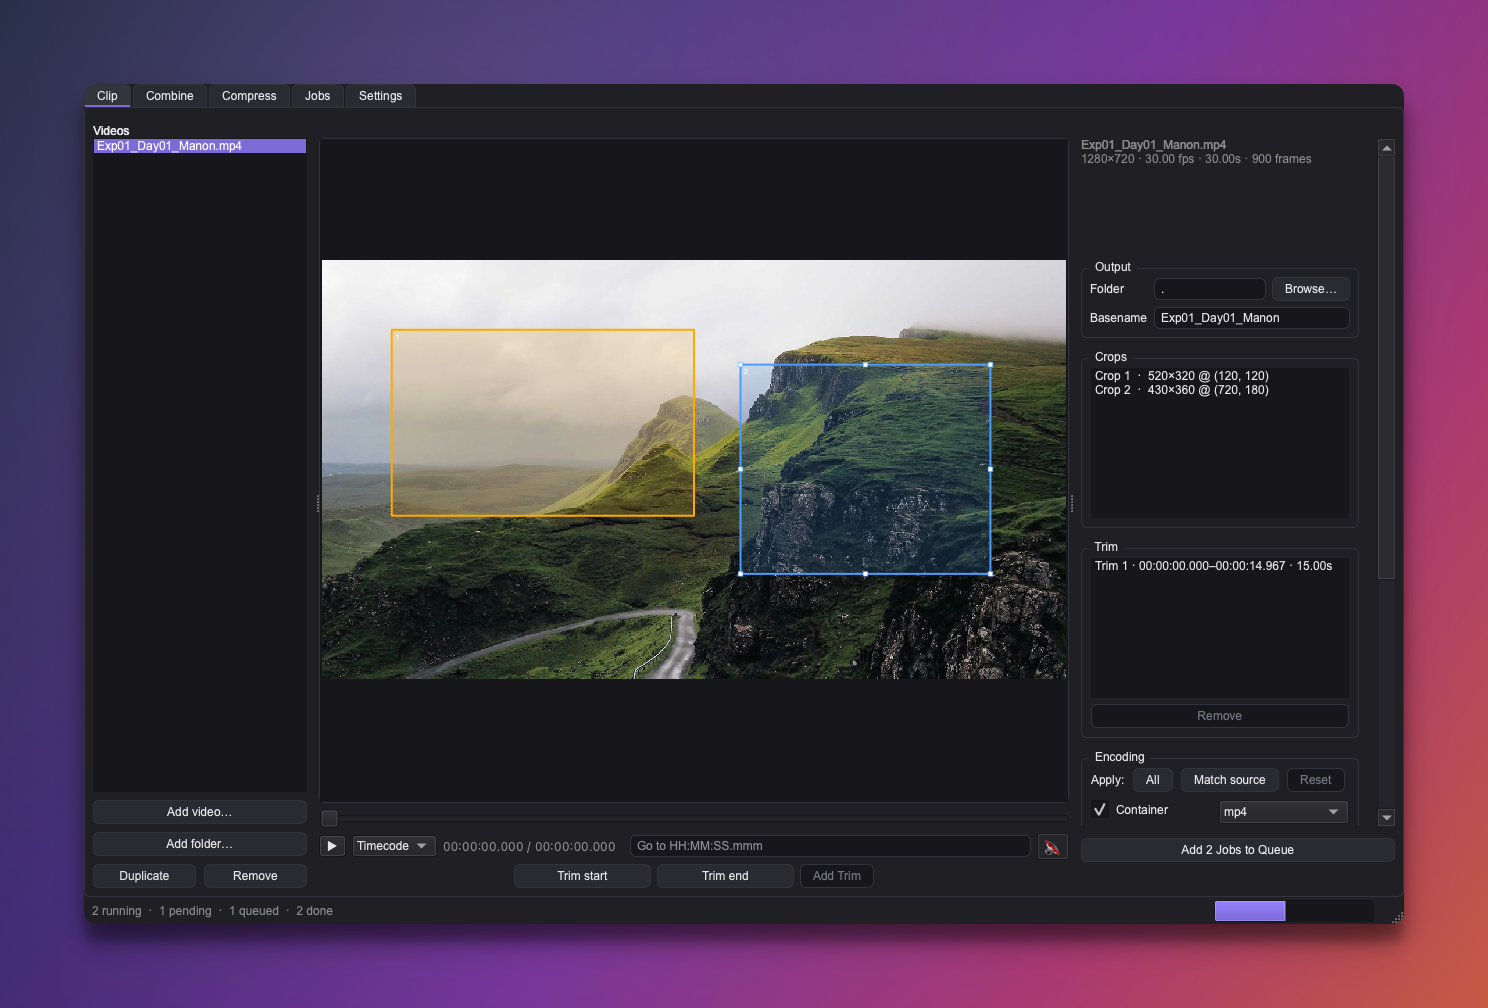
Open one or more videos
Drop videos onto the canvas or use Add video… (you can select or drag in several at once). They collect in the left Videos list, and each open clip keeps its own crops, trims, encoding, and output folder.
- Duplicate reuses the selected clip's crops, trims, and settings — handy for trying a variation.
- Remove drops the selected clip.
Play and scrub
The canvas is a video player. Use the transport bar beneath it to preview the clip and find the moments you care about:
- ▶ / ⏸ plays and pauses.
- The timeline scrubs — drag the handle, or click anywhere on the bar to jump there. Seeking is fast even on a multi-hour recording; it doesn't decode from the start.
- Go to
HH:MM:SS.mmmjumps to an exact time (or an exact frame number when the unit is set to Frames). - The 🔇 / 🔊 toggle turns audio on or off (muted by default).
- The Timecode / Frames dropdown switches whether times are shown as timecodes or frame numbers — everywhere, including the Trim list.
Keyboard shortcuts
With the video focused (click it once), Space plays/pauses and ←/→ step one frame back/forward — hold Shift for a coarser jump. Handy for landing exactly on a cut point before hitting Start or End.
Draw crops
- Click-and-drag on the frame to draw a crop box.
- Click a box to select it; drag the body to move it, drag a handle to resize. The selection is mirrored in the Crops list (and vice-versa).
- Delete / Backspace removes the selected box.
Each box becomes one output. With no crop at all, the whole frame is used.
Set trims (time ranges)
Trims are marked straight from the player:
- Scrub to where the cut should begin and click Start — the button turns green and shows the captured time.
- Scrub to where it should end and click End — it turns blue.
- Click Add Trim to add the range to the Trim panel.
Add Trim stays disabled until both ends are marked, and Croppy won't let you put an End before its Start (or a Start after its End). The Trim panel lists every range you've added — select one and click Remove to drop it.
With no trim, the whole timeline is used.
Finding cut points
Because the marks come from the playhead, the timeline is your scrubber — play to a moment, hit Start or End, done. Switch the transport's unit to Frames if you'd rather mark and read cut points as frame numbers.
One output per crop × trim
Croppy makes one file for every crop combined with every trim. Two crops and three trims make six files, and the queue button shows the count (Add 6 Jobs to Queue). With only crops, or only trims, you just get that one axis.
Name the output
The Output box sets where files land (Folder) and what they're called
(Basename, seeded from the source name). A single output keeps the basename
verbatim; when there are several, Croppy appends _crop1, _trim1, … so they
stay distinct. See Output names & the Jobs queue for the
full naming rules.
Queue it
Add Job to Queue stages every crop × trim on the Jobs tab; a short confirmation flashes so you know it landed. The encoding used is whatever the Encoding panel shows for this clip — see Encoding & presets.